
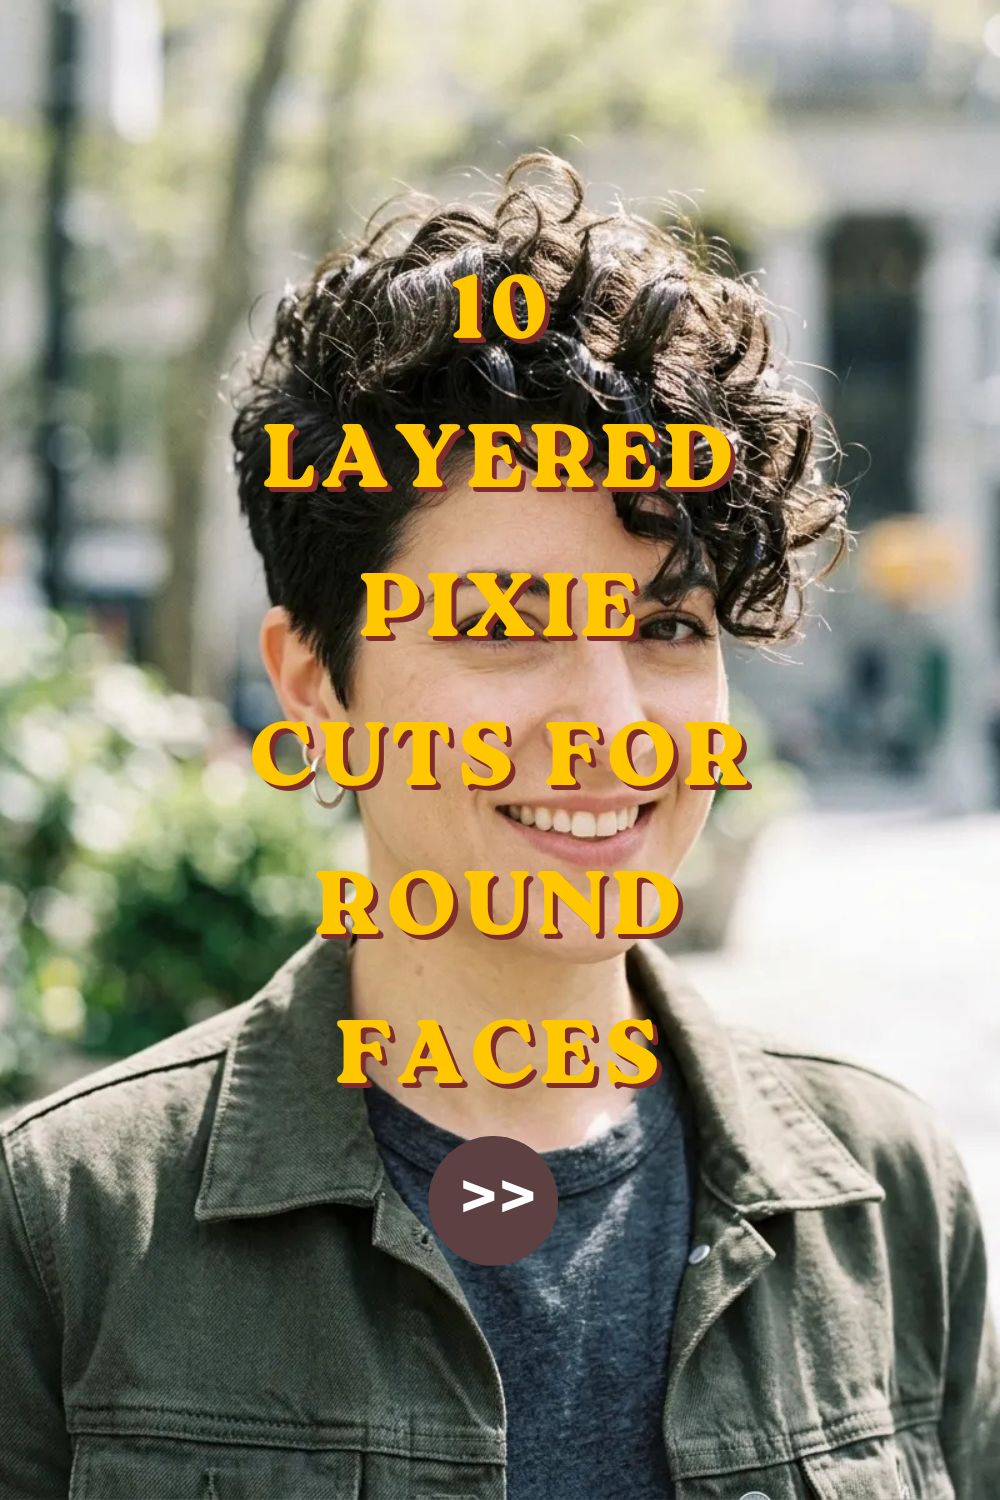
10 Layered Pixie Cuts for Round Faces

Finding a flattering haircut for a round face shape is all about creating vertical lines, adding volume at the crown, and softening the fullness around the cheeks. A layered pixie cut is one of the most effective styles for achieving this balance. By incorporating strategic heights, textured angles, and face-framing fringe, you can elongate your features and highlight your cheekbones. This guide explores 10 tailored layered pixie cut ideas specifically designed to flatter round face shapes, complete with styling methods and practical tips.
Why This Idea Is Trending or Useful
Layered pixie cuts for round face shapes continue to dominate hair trends because they dismantle the old myth that short hair doesn’t suit rounder features. Modern cutting techniques focus on creating structural angles and height rather than flat, clingy shapes. Adding top volume visually lengthens the face, while textured layers break up soft jawlines. The low-maintenance nature of short hair combined with high-impact face-framing makes this a go-to choice for anyone seeking a stylish, refreshing transformation.
Materials and Preparation
Achieving and maintaining the right volume and texture requires the right tools and prep routine. Start with a lightweight volumizing shampoo that won’t weigh down root growth. Key styling tools include a blow dryer with a concentrator nozzle, a small ceramic round brush, a fine-tooth comb, texturizing sea salt spray, matte hair clay or pomade, and a flexible-hold hairspray. Using matte, weightless formulas prevents the hair from clumping together, keeping your layers light, lifted, and structural.
Creative Layered Pixie Cut Ideas for Round Faces
High-Volume Spiky Crown Pixie
Step-by-Step Guide
Building height directly at the crown is the most effective way to visually elongate a round face shape. This cut keeps the sides neatly tapered while leaving textured, chopped layers on top. To style, apply a volumizing mousse to damp roots and blow-dry upward using your fingers to pull the hair away from the scalp. Once dry, work a nickel-sized amount of matte styling clay through the top layers, pulling them upward and slightly forward to build vertical height. Keep the sides smooth against the head so the focus remains entirely on the vertical crown volume.

Asymmetrical Pixie with Long Diagonal Bangs
Execution Process
Asymmetry creates diagonal lines across the face, breaking up symmetrical roundness and drawing attention toward the eyes and cheekbones. This style features closely cropped layers on one side that gradually lengthen into a sweeping diagonal fringe on the opposite side. Apply a lightweight blow-dry cream to damp hair, then use a small paddle brush to dry the bangs across the forehead toward the longer side. Use a flat iron on low heat to direct the ends slightly downward, carving a sharp diagonal angle that cuts across the fullness of the cheek.

Choppy Pixie-Bob with Wispy Side Layers
Setup Method
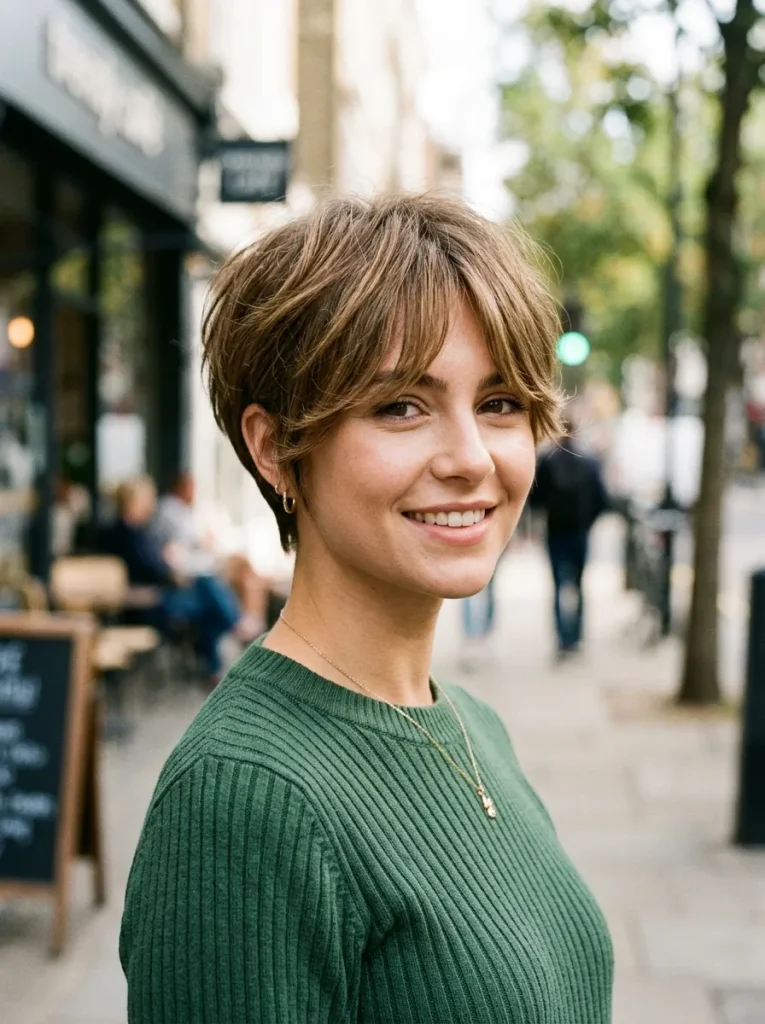
A pixie-bob hybrid offers slightly more length around the ears while maintaining the short, layered structure of a classic pixie. The choppy, razored layers add texture along the sides, while wispy pieces frame the cheekbones without clinging to them. Apply a texturizing sea salt spray to damp hair and rough-dry using your hands to encourage piecey separation. Use a small dab of lightweight pomade to pinch the ends of the wispy side pieces forward onto the cheeks, breaking up the outer curve of your face.

Textured Pixie with Faux Hawk Crown
How to Create
A faux hawk structure focuses all texture and height down the center of the head, creating an elongated diamond silhouette that balances round cheekbones. Keep the sides and back faded or tightly tapered using short scissor layers. Distribute a strong-hold styling gel or firm clay from the mid-lengths to the tips of the top layers. Use a blow dryer on medium heat while pushing the side sections of the top layers inward toward the center line. Sculpt the center ridge into a textured peak, finishing with a mist of strong-hold hairspray to lock the vertical height in place.
Tapered Pixie with Feathered Curtain Bangs
How to Make
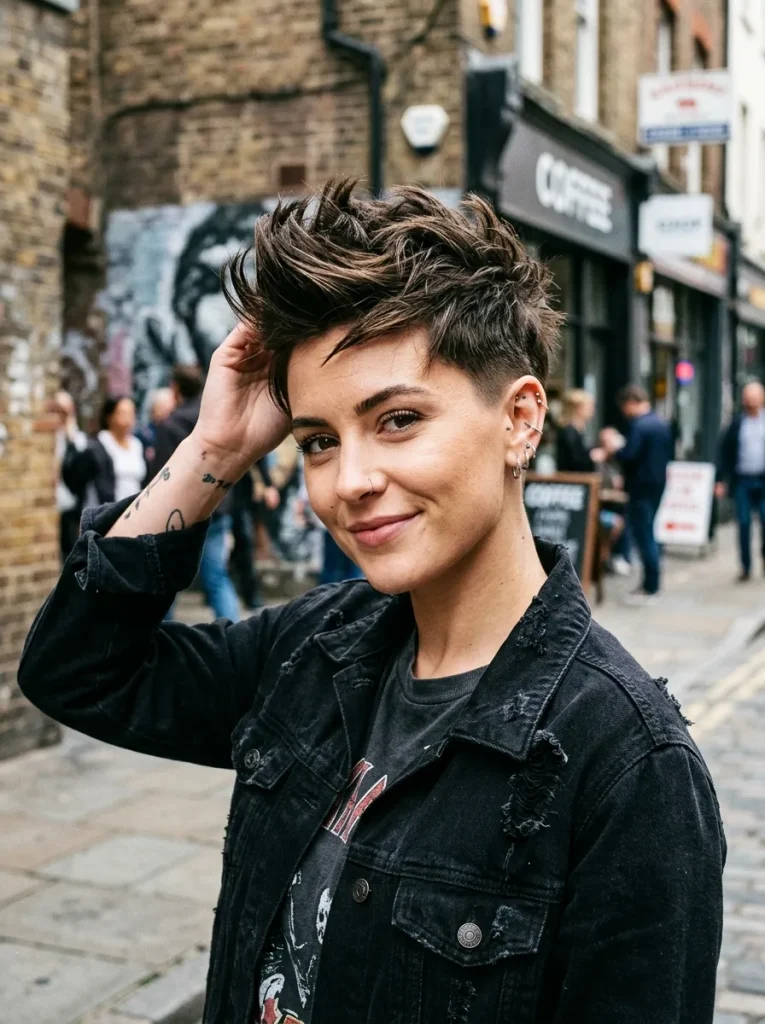
Curtain bangs parted slightly off-center curtain the face, creating narrow vertical framing that slims round features. Combine this fringe with short, tapered layers around the nape and ears. To style, apply a root-lifting spray and blow-dry the curtain bangs outward and away from the center using a small round brush. Allow the feathered ends to brush lightly past the outer corners of the eyes and cheekbones, creating an illusion of narrower width while keeping the nape neat and clean.
Voluminous Quiff Pixie Cut
Step-by-Step Guide
The quiff pixie sweeps the front layers upward and back off the forehead, opening up the entire face and adding significant vertical length. Apply a strong root-boosting spray to the front fringe area while damp. Blow-dry the front section backward over a small round brush, pulling the hair up and away from the forehead. Once fully dry, lightly backcomb the underside of the front section for internal structural support. Smooth a small amount of pomade over the outer surface to tame flyaways, keeping the front swoop high, airy, and secure.

Shaggy Pixie with Wispy Micro-Bangs
Execution Process
A shaggy pixie introduces heavily razored, multi-length layers that create movement and soft texture around the upper third of the head. Pairing this with wispy, piecey micro-bangs sitting high on the forehead exposes more face vertically, making round faces appear longer. Spritz dry shampoo or texturizing powder into dry roots, then tousle the crown with your fingers to build lived-in texture. Pinch the micro-bangs into distinct, separated sections using a tiny bit of matte paste, ensuring the forehead remains partially visible through the fringe.

Sleek Side-Parted Tapered Pixie
Setup Method
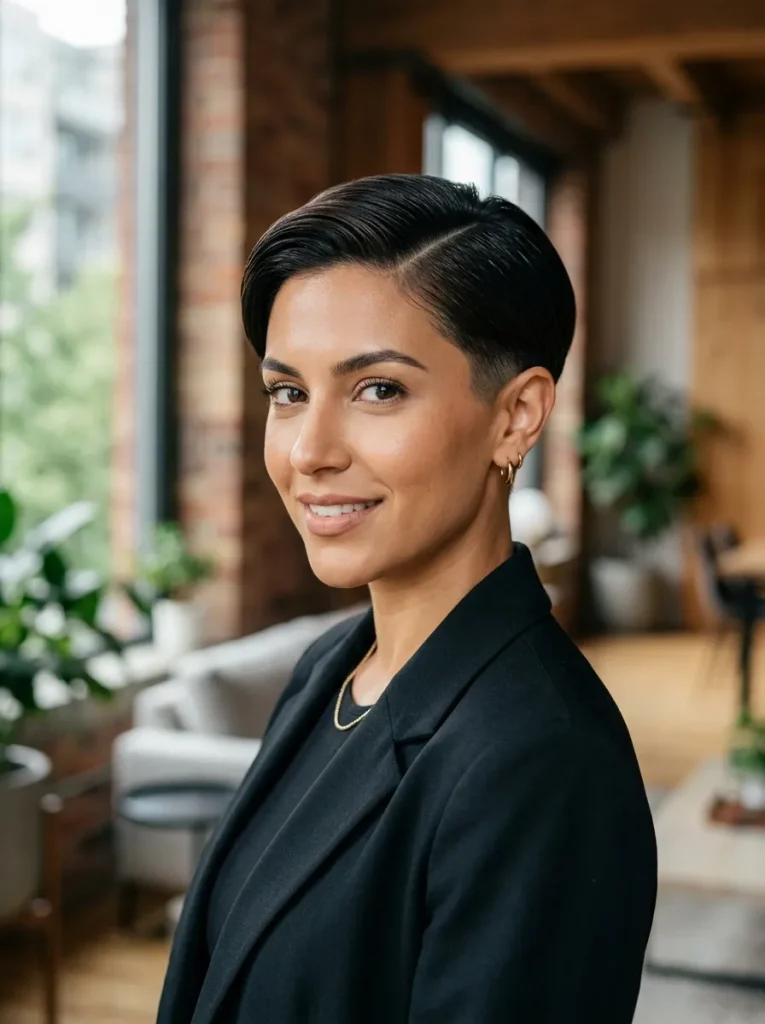
A deep side part shifts the focal axis of your face away from the center, disrupting round symmetry. This refined cut features short, tapered sides and smooth top layers parted sharply on one side. Apply a smoothing lotion throughout damp hair and blow-dry with a paddle brush, directing top layers flat and smooth in the direction of the part. Tuck the shorter side neatly behind the ear, and allow the longer side to sweep across the upper forehead, creating a clean, sophisticated, and slimming angle.
Curly Layered Pixie with Top Volume
How to Create
Embracing natural curls with short layers creates dynamic texture that flatters round faces—provided the volume is concentrated on top rather than out at the sides. Keep the sides short and tapered to avoid adding horizontal width. Apply a lightweight curl-defining mousse to wet hair, then use a diffuser attachment on your blow dryer to dry curls on low heat. Cup the top curls upward to boost root bounce, allowing a few defined ringlets to tumble forward over the forehead to soften the overall shape.
Layered Undercut Pixie with Long Crown Fringe
How to Make
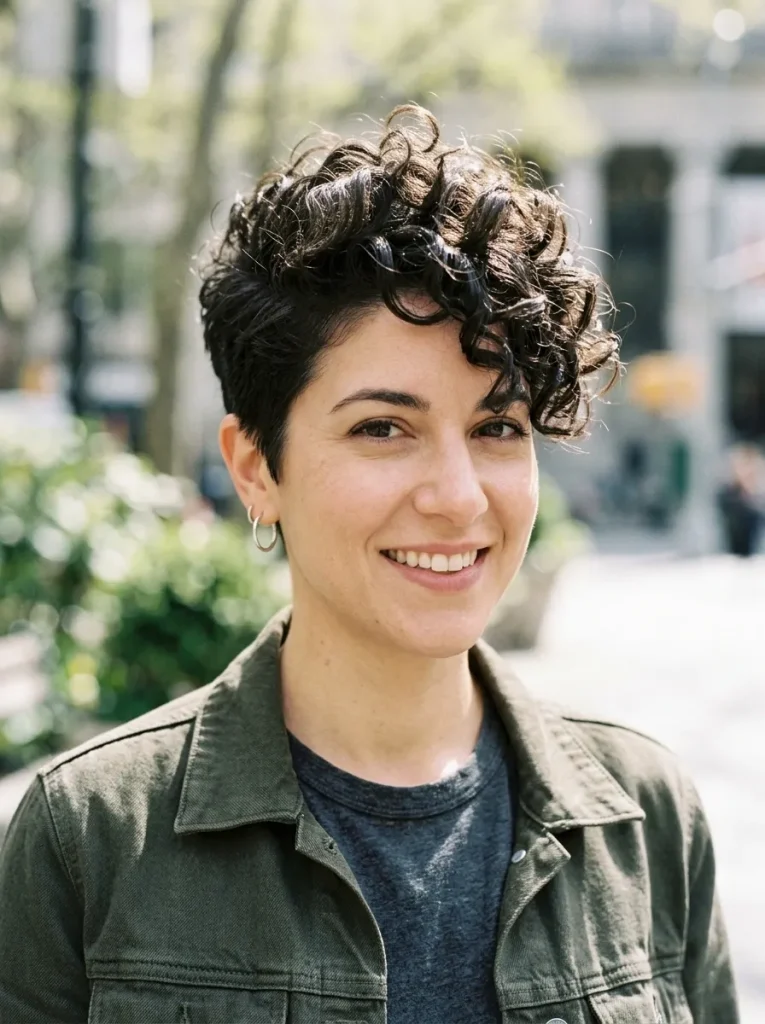
An undercut removes all visual weight from the sides and back of the head, instantly narrowing a round face profile. Long, layered top sections are left floating over the closely shaved undercut. Apply a texturizing paste to damp top layers and blow-dry forward and to one side. The contrast between the flush, buzz-cut sides and the voluminous, textured top creates a strong vertical line that slims the cheeks and gives a sharp, modern edge.

Common Beginner Mistakes and How to Avoid Them
When adapting a pixie cut for a round face, avoiding specific cutting and styling traps is crucial for achieving a flattering shape:
- Excessive Side Volume: Adding wide, fluffy volume directly over the ears widens the face. Always keep the side layers short, tapered, or sleek.
- Blunt, Heavy Bangs: Straight-across, thick bangs cut the face in half horizontally, making it look rounder and shorter. Opt for side-swept, wispy, or curtain bangs instead.
- Flat Crown Styling: Neglecting root volume causes the hair to sit flat against the skull, accentuating face roundness. Always use root lifters or texturizing products at the crown.
- Infrequent Trims: Short hair loses its structural shape quickly. Schedule trims every 4 to 6 weeks to keep side layers tight and crown volume properly balanced.
Practical Tips for Better Results
- Dry Bangs First: Bangs set quickly as they dry naturally. Always style and blow-dry your fringe immediately after washing to control direction and eliminate cowlicks.
- Use Matte Products: Shiny pomades and heavy oils can cause short layers to clump together flatly. Matte clays, texturizing powders, and sea salt sprays build volume without adding grease.
- Focus Product at the Roots: Apply styling paste near the root base for lift, rather than coating just the ends, which can weigh the layers down.
Styling, Presentation, or Organization Ideas
- Duo-Texture Styling: Pair sleek, tucked sides with a messy, textured crown for a balanced, high-contrast everyday look.
- Statement Accessories: Accentuate your pixie with bold drop earrings, stylish eyewear, or thin headbands placed behind your top volume to draw the eye upward.
- Quick Morning Reset: Spritz bedhead layers with a light mist of water or dry shampoo to reactivate yesterday’s product and quickly restyle top volume in under three minutes.
Budget or Time Planning
- Daily Styling Time: A layered pixie cut is extremely fast to style, taking only 5 to 10 minutes each morning.
- Product Longevity: Because short hair requires only pea-sized amounts of product, styling pastes and sprays last significantly longer than they do with long hair.
- Maintenance Schedule: Budget for regular salon visits every 4 to 6 weeks to maintain clean necklines and proper top-to-side length ratios.
Creative Expansion and Advanced Inspiration
- Dimensional Color Placement: Add subtle balayage or highlights exclusively to the top crown layers. Lighter tones on top attract light and create an illusion of even greater vertical height.
- Wet-Look Transformation: For evening events, slick the sides back firmly with high-shine pomade while keeping the top layers gently lifted for a red-carpet-inspired aesthetic.
- Seasonal Adaptations: Keep sides extremely close or undercut during warmer summer months, allowing slightly softer, longer face-framing layers during winter.
Frequently Asked Questions
Can a round face wear a short pixie cut?
Yes! A pixie cut is actually one of the most flattering haircuts for a round face when styled with height at the crown, tapered sides, and asymmetrical or side-swept bangs that create visual length.
What type of bangs is best for a round face with a pixie cut?
Side-swept bangs, curtain bangs, wispy piecey fringe, and diagonal bangs are best. They break up horizontal roundness and add slimming diagonal or vertical lines across the face.
How do I add volume to flat hair with a pixie cut?
Use a root-lifting spray on damp hair, blow-dry the crown layers upward over a small round brush, and finish with a dusting of dry texturizing powder at the roots for instant, long-lasting lift.


